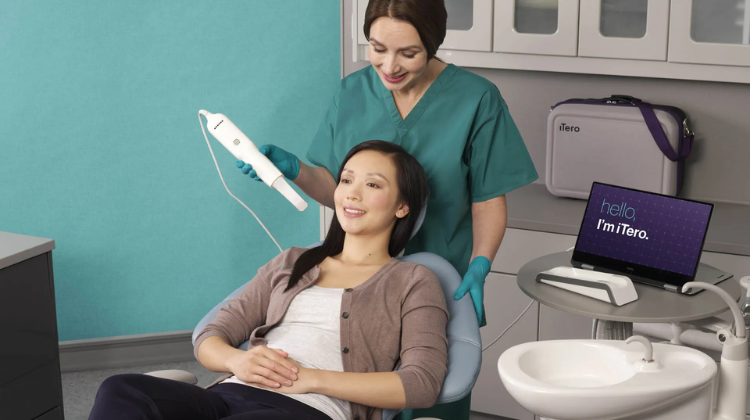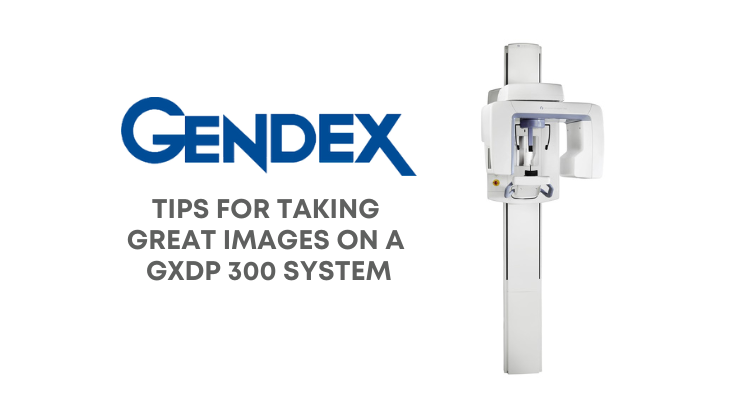
High-quality dental panoramic images are essential to plan the right course of patient treatment. Eliminating retakes is also important for your dental practice to save time and minimize patient dose. Below we provide some best practices for using your certified pre-owned Gendex GXDP 300 panoramic system from Renew Digital so you can meet these goals and more.
Start by Setting Up Your Imaging Software
The first thing you need to do when obtaining patient images is set up the acquisition from within the imaging software. Next, position the bite guide and chin rest to get the unit ready for the patient. You will want to prepare the head supports at this time as well. A quick press of the reset button will get the rotating unit into position. You should then select the patient size and projection on the touchscreen of the Gendex GXDP 300.
Position the Patient
If your patient is wearing hair clips, jewelry, false teeth, or glasses, he or she will need to remove them before putting on the protective apron. Be sure to use an apron without a collar to minimize lead artifacts on the images. Once the patient is ready, press the button controlling the chin rest until it comes slightly above the patient’s chin. He or she should step into the Gendex machine and hold onto a handgrip with the right and left hands. You should now ask the patient to put their chin on the rest and position their teeth into the bite guide.
Initiate the Laser Alignment Lights
With the patient’s eyes firmly closed, your next step is to press the button that turns on the laser alignment lights. Your patient’s head should not be tilted too much in either direction for mid-sagittal placement. Use the up and down buttons to bring the patient’s Frankfort plane directly parallel with the laser. You can perform the same function when taking horizontal bitewing projections to create a parallel between the laser and the patient’s occlusal plane. Standard panoramic placement requires you to adjust the chin rest and to bring the cuspids parallel with the laser.
For the next step, position the laser and push the head of the unit towards the patient. You should now turn the head-support knob clockwise to create a firm yet gentle grip on the patient’s head. The patient should then press his or her lips together and bring the tongue to the roof of the mouth.
What to Expect During Exposure
While completing exposure, the Gendex unit will rotate continually around the patient’s head until the process is complete. It should take approximately six seconds to obtain a bitewing image and 12 seconds to obtain a standard adult panoramic image. Be sure to move at least six to seven feet away while the unit rotates during exposure so you’re not at risk but can still see and hear your patient. When finished, release the unit’s head support and help the patient out of the unit, if necessary.
The Gendex GXDP 300 makes imaging simple for all patients. All you need to do is select imaging projection, choose patient size, and complete the scan. Please feel free to reach out to Renew Digital with questions about the Gendex GXDP 300 panoramic system or any of our refurbished dental imaging equipment.