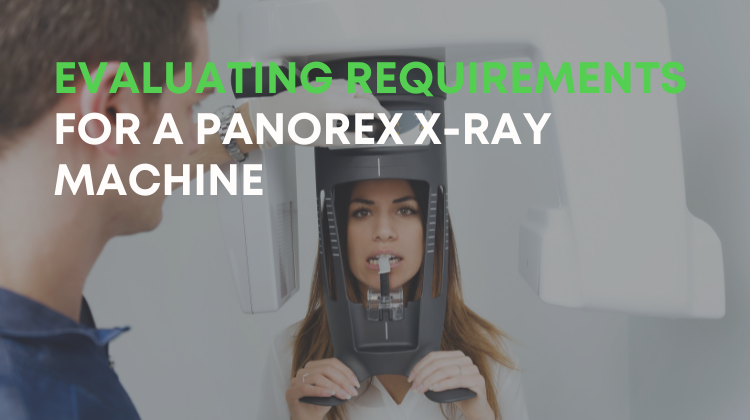
Most dental practices rely on their panorex X-ray machine in order to provide a high level of patient care, help diagnose dental conditions and prepare for future treatment planning. While many panoramic X-ray machines provide similar functionality, none of them are exactly alike in their specific requirements.
If you’re in the process of adding a panorex X-ray machine to a practice that has never had one, or upgrading to a different dental panoramic X-ray model, it’s important to evaluate the requirements for each dental X-ray machine before making a purchase to ensure that everything can be installed and configured correctly and in a timely manner.
1. Planning your space
Panorex X-ray machines can vary in size, orientation and patient flow. Be sure that you review both the manufacturer’s published actual and recommended dimensions to ensure the correct fit. The actual dimensions are the exact measurements of the device in length, width and depth, taking in account the panoramic rotation. The recommended dimensions allow for the actual dimensions plus room for proper patient and operator workflow. Don’t forget that if the unit is mounted to the wall, that you will need to consider the extra inches added by any brackets or fasteners required to hold the panoramic X-ray machine to the wall.
When determining patient flow, pay close attention to how patients are positioned in the dental X-ray machine. Depending on the dental equipment manufacturer or model, the patient can enter the machine from the left or the right-hand side of the unit, or they can go straight in. Make sure you leave enough room to comfortably accommodate patients in wheelchairs as well as those with other disabilities. Some models are designed to have the patient facing the operator, while others have the patient facing the machine. Many patients, especially children, feel more at ease when they can see and talk to the operator during X-ray positioning.
If you require a cephalometric attachment for your panoramic X-ray machine, then you need to consider on which side of the panorex the cephalometric arm will be placed. Some models are designed with the ceph on the right, and others with the ceph on the left. Most models are fixed, meaning the arm must be affixed to either the left or right side of the panoramic unit. However, other models allow you to choose the orientation that best fits your practice. It is important to plan carefully so that patients can be properly and comfortably positioned and are not facing a wall when taking a cephalometric X-ray.
In addition to considering how patients will be placed into the X-ray machine, you need to also think about how the unit is operated. Some dental panoramic X-ray machines have the controls on the front of the unit, while others have the controls off to the side.These controls allow the operator to select the appropriate image parameters prior to acquisition. After image capture, the digital images are immediately transferred to a computer for viewing. You will also need to plan for the space necessary to accommodate a desk or counter to place this computer.
As you are planning your X-ray space, you must also consider where to install the exposure switch or button. Some states require that exposure stations be permanently mounted on a wall, while others allow the use of a hand-held exposure switch. Many states even stipulate how far from a barrier (or edge) of a wall an exposure switch can be placed. Make sure you plan far enough in advance in case any extra construction is necessary.
One of the benefits of upgrading from an analog to a digital panoramic X-ray machine is repurposing the space previously used as a darkroom or storage area for paper files and film. If your practice is making the move to digital from film, it is a good time to think about how this area can be used to better accommodate the new digital panorex X-ray.

2. A note about power, exposure, and networks
Most panoramic X-ray machines require three types of outlets: 1) power, 2) exposure cable, and 3) ethernet/network. Outlets for most X-ray machines should be installed at the standard height of 14-16 inches off the floor. For aesthetic reasons, many practitioners prefer to install the outlets directly behind the panoramic X-ray machine to hide unsightly cords. But they can always be run along the baseboards and/or covered with molding, if necessary.
Relative to power, panoramic X-ray machines typically run on a 110V or 220V power supply, based on equipment manufacturer and/or model. Some machines even require both a 110V and a 220V line. Since operating an electrical device outside of the rated range and specifications will damage it over time, it is very important that you plan the X-ray electrical environment very carefully. Keep in mind that dental panoramic X-ray machines need a dedicated power line, meaning that the power source must supply the panorex machine and nothing else. You can usually tell if a power line is dedicated if it has its own breaker in your main circuit breaker panel.
If you are outfitting a new dental practice or an office that has never had a panorex machine before, then you can “start from scratch” and work with an electrician to install the proper electrical outlets and in the correct position prior to the arrival of the equipment. If you are replacing a panoramic X-ray machine, however, you’ll want to be sure to make sure that the output (110V or 220V) and electrical plugs are the same as your previous model and that the X-ray will occupy the same exact space and configuration, or you’ll need to contact an electrician to make some changes prior to equipment installation.
All radiation-emitting X-ray machines need a way to expose the X-ray away from the patient. The distance from the radiation source and method of exposure are directly controlled and regulated by state radiation authorities. As mentioned previously, some states require a stationary exposure switch or control mounted to a wall, while others allow a hand-held switch that can be stretched a safe distance from the dental X-ray machine. If your state requires a mounted switch, then you will likely need an electrician to also run this cabling and install the necessary outlet(s) prior to the equipment installation. Some panoramic X-ray machines have proprietary exposure cables for their exposure switch, while others utilize standard cables. Make sure the electrician has the correct cables prior to running any lines.
In addition to wiring for power and exposure, some panoramic X-ray models plug directly into a network outlet(s), as well as a PC. Be sure to research and plan out all networking requirements in advance, so you have everything ready to go on the day of installation.

3. Software integration
Most digital panoramic X-ray machines on the market today integrate with leading dental imaging software via a TWAIN interface. All leading dental equipment manufacturers develop TWAIN drivers for each of the dental imaging devices they sell. These drivers are typically free and available for download from the dental equipment manufacturer’s website. Once the appropriate driver is installed, the imaging software “calls” the TWAIN driver, which initiates the acquisition from the dental X-ray machine. From there, you can save the image into the patient’s chart and utilize your current imaging software functionality to view, enhance and manage the panoramic images.
Be sure to think about where you will need to view your patients’ images throughout the practice. That way you can install the imaging software on the applicable workstations in advance of the X-ray installation.

4. Regulatory considerations
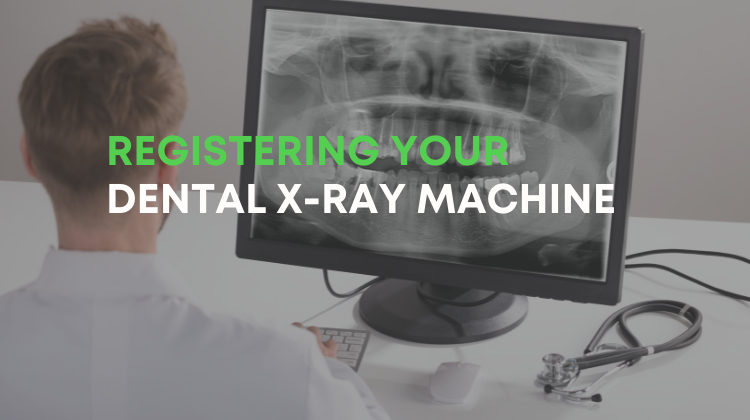
As you consider purchasing a new or replacement panoramic X-ray machine, you’ll want to make sure you follow all state guidelines for installing radiographic dental equipment and allow enough time to complete all necessary steps. If your practice has never had an X-ray machine installed before, many states require that you first register as an X-ray facility, then add X-ray units as they are obtained. Pay close attention to the state’s radiation equipment registration timelines, as well. Some states require that you register devices before they are installed, others after installation but before use, and even others within 30 days after installation.
If a Shielding Plan Design is required, be sure to secure one well in advance of the planned installation timeframe as these can take several weeks to prepare and obtain state approval, if required. Some states are more stringent for additional modalities, such as cephalometric or cone beam, so don’t always assume that the requirements are the same if you are replacing a standard panoramic X-ray with a more advanced system. Be prepared to add additional shielding, such as lead or additional drywall/gypsum, for ceph or CBCT systems in some states.
If you are replacing an existing panorex X-ray with a newer X-ray device, be sure to dispose of it properly. Some X-ray components contain lead and other hazardous substances, so you’ll want to make sure to recycle it in an environmentally responsible way. Also be sure to report the X-ray machine disposal and/or transfer to the state as required.
How to Save up to 50% on Panoramic X-Ray Machines
Now that we’ve covered some of the basics of how to plan for the addition or replacement of a panoramic X-ray machine for your practice, let’s discuss how you can save up to 50% off new equipment prices. Renew Digital is the leading provider of certified pre-owned panoramic X-ray and cone beam systems for dental professionals across the United States. Not only can we help make your extraoral imaging purchase more affordable, but we can also help guide you through this tedious process.
There is a lot to think about when making a change to your radiographic equipment, and our team is there every step of the way. First, our expert Sales Team will consult with you to make sure we find the right dental X-ray machine based on your diagnostic needs, space and budget. Then, our experienced Project Coordinators will help you prepare your X-ray environment for the pending installation. In addition, they provide training, and exceptional warranty coverage for all of their used dental equipment purchases..
To learn more about any of the company’s wide range of panoramic X-ray systems for sale, or to find the right panorex machine for your dental practice, contact Renew Digital online or call 888-246-5611 and to get started in the right direction.